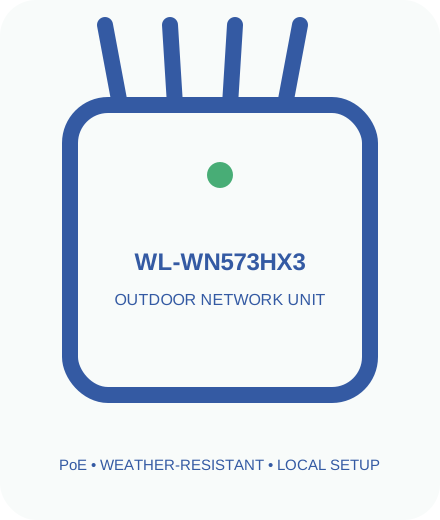
Choose omnidirectional coverage instead of a point-to-point panel
Use this model for area coverage; choose an HP directional model when the requirement is a concentrated building-to-building path.
Expected result: The complete WN573HX3 label, radio class and hardware suffix have been recorded before configuration.
Inspect the HX3 seals, antenna tubes and PoE route
Inspect every gasket and cable entry, but keep the PoE converter or indoor power components away from water.
Expected result: The WN573HX3 starts normally and the selected PoE or power path remains stable.
Configure the unit below mounting height first
Power the device at ground level, join its temporary WiFi and use the local address stated on the label or manual.
Expected result: The private WN573HX3 management page opens from a device connected to its local setup network.
Create an outdoor AP with a wired Gigabit-class backhaul
For AP mode, connect router/switch LAN through the PoE data path, create secured 2.4 and 5 GHz names and note the assigned management IP.
Expected result: The selected wireless, mesh or routed uplink reports connected after the WN573HX3 restarts.
Repeat an existing network only where the return path is strong
For Repeater mode, test the host signal at the exact mount height and select a stable band rather than the fastest-looking one.
Expected result: A client receives a valid local address and reaches the internet through the intended operating mode.
Add the HX3 to a documented compatible mesh
For compatible mesh, pair near the parent, confirm a healthy node/backhaul state and only then move it outdoors.
Expected result: The final mount preserves local management access, stable backhaul and usable two-way coverage.
Set height without creating a weak client return link
LED names and colours can change with firmware. Compare the observed pattern with the manual for the exact hardware revision instead of borrowing another model’s chart.
Resolve one-way coverage, mesh isolation and water-entry risks
- Test the main router or upstream Ethernet independently.
- Inspect the PoE link, injector direction, cable terminations and dry indoor power components.
- Connect locally and locate the device through its current gateway or the upstream router client list.
- Restart without erasing settings. Reset only when the local configuration cannot be recovered.
- Use firmware exclusively from the official page for WL-WN573HX3 and its hardware revision.
Set mounting height for people and devices—not maximum distance
An omnidirectional unit mounted very high may broadcast over nearby clients or create a strong downlink with a weak return path. Begin at a practical height with clear antenna space, then test the actual garden, yard, camera or parking positions. More elevation is useful only while two-way performance improves.
Keep the unit away from large metal surfaces and do not bundle antenna elements against the mounting pole. For a crowded public-facing area, use AP mode with a wired backhaul where possible and apply appropriate client isolation or network segmentation in the controlling router.
WN573HX3 outdoor coverage questions
Is mounting as high as possible always better?
No. Excessive height can weaken the return path from nearby phones and cameras. Test at practical heights.
When is AP mode preferable to repeating?
Use AP mode with Ethernet backhaul where cabling is available and stable capacity matters.
Can an omnidirectional model replace a directional bridge?
Not for every design. Omnidirectional antennas spread area coverage; a directional panel better serves a focused remote path.
Official WL-WN573HX3 reference
Product specifications, ports and supported modes were checked against the manufacturer page. Regional bundles and later hardware revisions can differ.