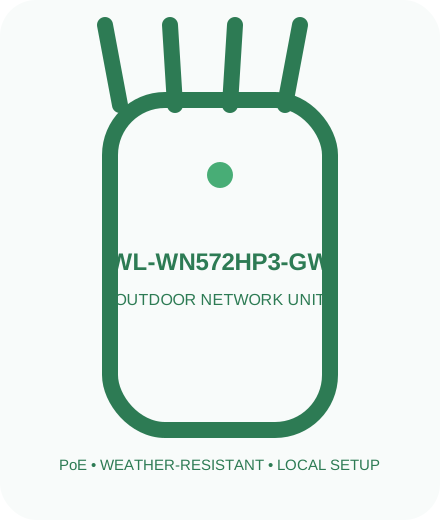
Confirm the GW suffix before downloading anything
Read the complete model and hardware revision from the label; do not use non-GW firmware on the Greenwood variant.
Expected result: The complete WN572HP3-GW label, radio class and hardware suffix have been recorded before configuration.
Choose mesh expansion or conventional outdoor coverage
Decide whether the parent device is explicitly compatible with the model’s mesh technology; otherwise plan AP or Repeater mode.
Expected result: The WN572HP3-GW starts normally and the selected PoE or power path remains stable.
Prepare the Greenwood node beside its intended parent
Power the unit by its injector near the parent node, join the temporary SSID and open the documented local management address.
Expected result: The private WN572HP3-GW management page opens from a device connected to its local setup network.
Pair a compatible mesh without creating a second router
For compatible mesh, start pairing from the parent as its instructions require, trigger the outdoor node and wait for a stable node state before moving it.
Expected result: The selected wireless, mesh or routed uplink reports connected after the WN572HP3-GW restarts.
Fall back to repeater mode when mesh compatibility is absent
For ordinary repeating, log in through waplogin.link, choose the parent SSID and password, then name the extended network clearly.
Expected result: A client receives a valid local address and reaches the internet through the intended operating mode.
Use Ethernet backhaul for a steadier outdoor node
For Ethernet backhaul/AP use, connect the upstream LAN through the data side of the PoE arrangement and verify the assigned address after saving.
Expected result: The final mount preserves local management access, stable backhaul and usable two-way coverage.
Place four antennas for roaming around the property
LED names and colours can change with firmware. Compare the observed pattern with the manual for the exact hardware revision instead of borrowing another model’s chart.
Repair a split SSID or node that leaves the mesh
- Test the main router or upstream Ethernet independently.
- Inspect the PoE link, injector direction, cable terminations and dry indoor power components.
- Connect locally and locate the device through its current gateway or the upstream router client list.
- Restart without erasing settings. Reset only when the local configuration cannot be recovered.
- Use firmware exclusively from the official page for WL-WN572HP3-GW and its hardware revision.
Keep a mesh compatibility and backhaul record
Write down the parent model, firmware version, security mode and whether the node uses wireless or Ethernet backhaul. “Mesh supported” does not guarantee pairing between unrelated brands or even every WAVLINK generation. Use the compatibility information for the exact Greenwood revision.
If roaming behaves poorly, check that the node joined the intended mesh rather than broadcasting a separately configured repeater SSID. Compare client movement with the node list in the parent dashboard. A conventional wired AP may be the more predictable solution when the existing router cannot form the documented mesh.
Greenwood mesh compatibility questions
Will it mesh with every router brand?
No. Confirm the parent device is explicitly compatible with the mesh technology used by this GW revision.
What if compatible mesh pairing is unavailable?
Use the documented AP or Repeater mode and give the resulting network a clear name for testing.
Why record the complete GW suffix?
Closely named models can use different firmware and mesh behaviour. The full suffix prevents cross-model downloads.
Official WL-WN572HP3-GW reference
Product specifications, ports and supported modes were checked against the manufacturer page. Regional bundles and later hardware revisions can differ.