WAVLINK Extender WPS Setup: Complete Guide
WPS can connect a compatible extender without typing the router password, but only when WPS is enabled on both devices and the correct buttons are used.
This page focuses specifically on WAVLINK extender WPS setup. It also explains WPS button order and WAVLINK wireless pairing so each check can be completed in the correct order.
Before pressing WPS
Confirm that the main router has working internet and that WPS is enabled. Place the extender in the same room. Identify the WPS/Pair button and do not confuse it with the recessed Reset control, which erases configuration.
Correct WPS button order
- Press the router WPS button for the duration specified by its manual.
- Within the router’s pairing window, press the extender WPS/Pair button.
- Wait without pressing either button again.
- Observe the extender’s link or WPS indicator.
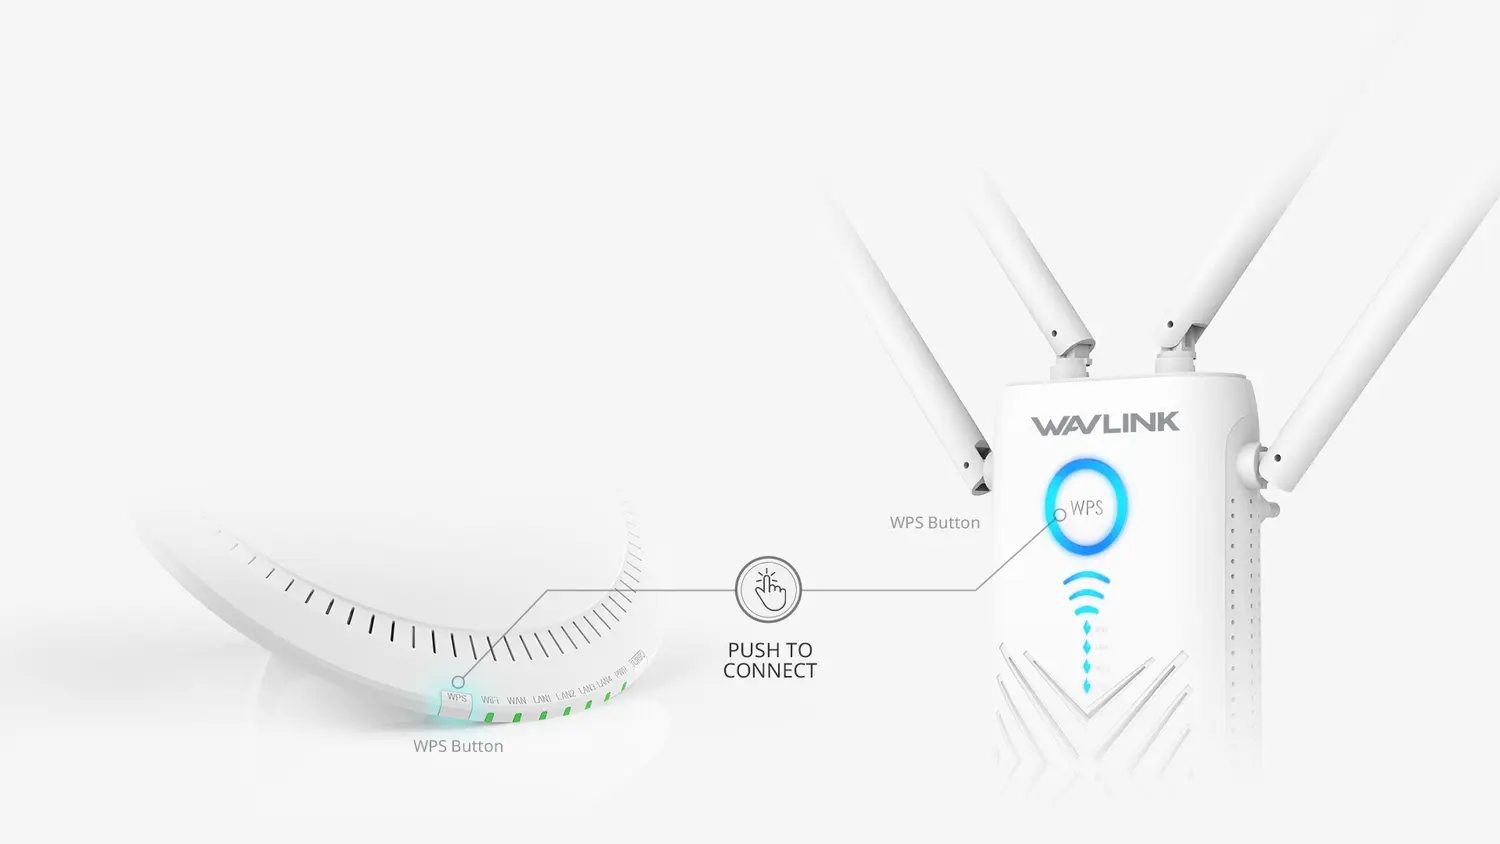
Dual-band pairing
Some dual-band equipment pairs both bands in one operation; other combinations require another WPS cycle for 5 GHz. Check whether two extended SSIDs appear and test each one. Do not repeat pairing merely because the extended name differs from the router name.
Move and test after pairing
Connect a phone to the extended network and open two unrelated websites. Then move the extender halfway toward the weak area while keeping a reliable router signal. Test again in the final outlet.
Why WPS fails
- WPS disabled by the router or ISP firmware.
- Pairing window expired before the second button was pressed.
- Extender too far from the router.
- Hidden SSID, incompatible security or a band/channel limitation.
- Wrong mode selected on a physical switch.
Use browser setup instead
If two careful WPS attempts fail, use the documented local browser setup. It reveals the router SSID and password errors that WPS indicators cannot explain. A factory reset is not required unless the extender contains an incompatible old configuration.
How to confirm WPS really completed
A success light alone is not enough. Open the phone WiFi list and identify the new extended SSID. Join it with the credential documented by the device—often inherited from the router—and turn mobile data off while testing. Open two unrelated websites and check that the phone has a private IP address.
Move the extender only after this test succeeds near the router. At the final outlet, wait for the router-link indicator and repeat the test in the weak room. If the extended network remains visible but internet disappears after moving, the WPS configuration is intact; the new placement has weakened the uplink.
For dual-band models, verify whether both expected SSIDs appear. A successful 2.4 GHz pairing does not always prove that 5 GHz paired. Repeat only the manufacturer-documented band procedure rather than pressing WPS randomly.
Record the extended SSID and administrator access method. WPS configures the wireless relationship but may not create or reveal the local administrator password. Open the supported local page afterward to review security, rename the network if needed and check for official firmware updates.
References for button-based WPS pairing
This guide uses current manufacturer login and troubleshooting information. Menus, LEDs and addresses vary by model, region and hardware revision. Confirm the exact procedure on the product label and official manual.